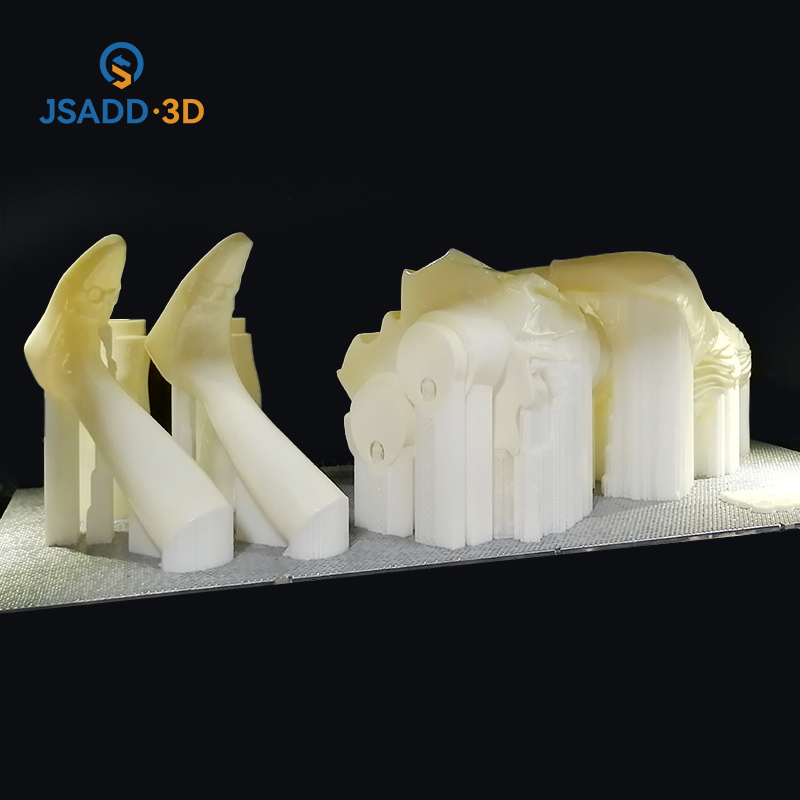
After the prototype has been formed in the liquid resin, the lifting table lifts it out of the liquid and removes it and starts the post-treatment such as finishing and sanding. A thin spatula is inserted between the shaped part and the lift table plate to remove the shaped part. If the part is soft, it can be removed together with the lift plate for post-curing
If there is an uncured resin remaining inside the formed part, it is important to remove the residual resin from the formed part because of the dark reaction occurring during the post-curing treatment or the storage of the formed part.
If the process uses a water-soluble solvent, after cleaning, the solvent should be washed off the surface of the formed part with water, then the water should be removed with compressed air, and finally the liquid resin remaining on the surface should be removed with a cotton swab dipped in solvent.
When the hardness of the prototype formed by laser irradiation does not meet the requirements, it is necessary to post-cure the prototype by means of light curing with UV light or heat curing. When post-curing by light curing, it is recommended to use a long wavelength light source that transmits to the interior of the prototype and to use a light source with a low illumination level in order to avoid an increase in internal temperature due to a rapid reaction. It is important to note that the internal stresses generated during the curing process and the softening caused by the increase in temperature can cause distortion or cracks in the part.
The above is an introduction to how to post-cure a light-cured 3D printed prototype after it has been completed, which I hope will provide you with a reference.
Contributor: Alisa / Lili Lu /Seazon


